

This post was created using version 3.x.x of refine. Although we plan to update it with the latest version of refine as soon as possible, you can still benefit from the post in the meantime.
You should know that refine version 4.x.x is backward compatible with version 3.x.x, so there is no need to worry. If you want to see the differences between the two versions, check out the migration guide.
Just be aware that the source code example in this post have been updated to version 4.x.x.
We will make a web application that allows you to quickly create subscribers and send emails to your subscribers in a simple way. We’ll use refine to develop the frontend easily and strapi for backend solutions.
Let's start by creating our strapi and refine projects.
Creating API with Strapi
npx create-strapi-app strapi-email-subscription-api --quickstart
After the project is loaded, the admin panel will open automatically open in the browser. We need to create an admin user in order to log in to the strapi.
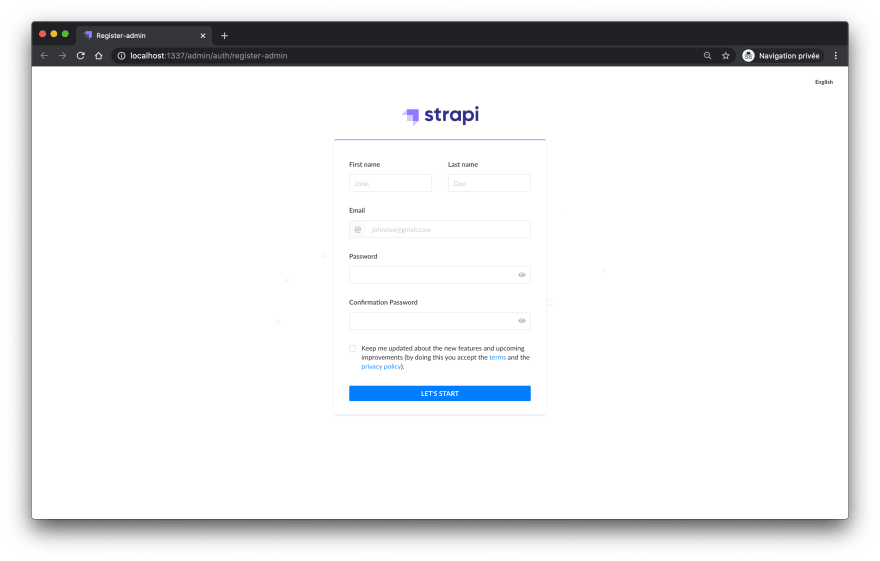
With the information we will create here, we can now enter the strapi and start shaping our backend.
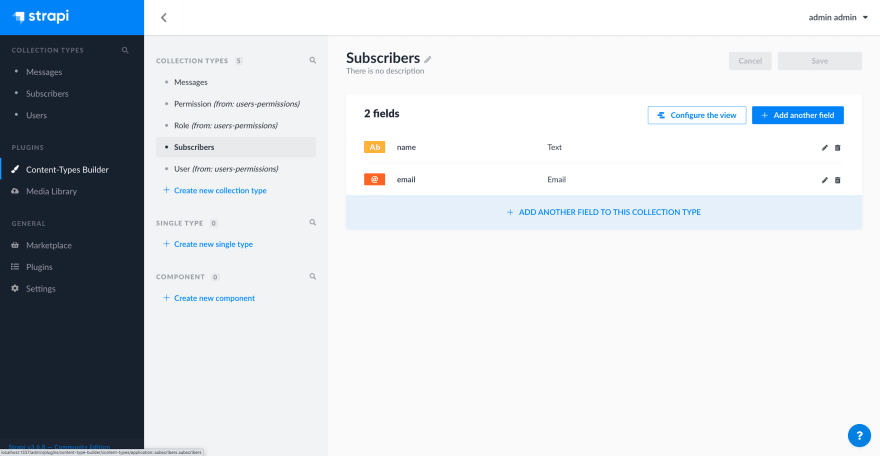
After logging into the Strapi interface, we have two collection models that we need to create for our e-mail subscription project.
We will create these collections from the Collection-Types Builder part of the strapi.
Subscribers
nametext field
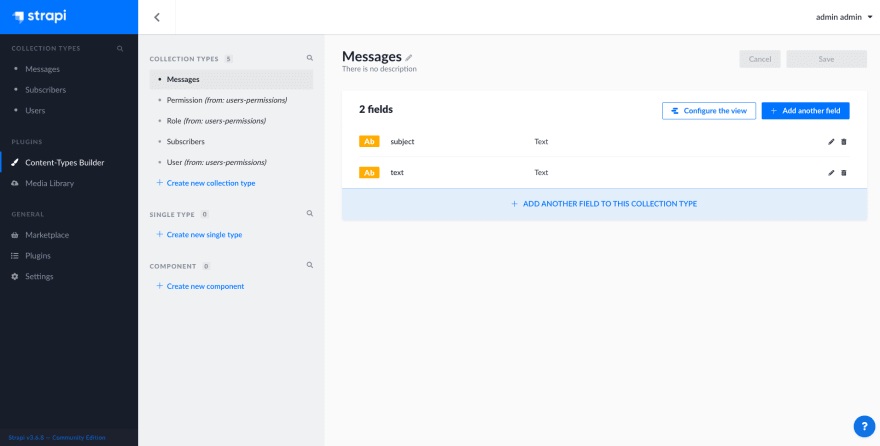
Messages
subjecttext fieldtexttext field
With these collections and features we have created, we can now create subscribers, delete them and make changes to them.
Creating panel with refine
Now let's refine the subscription panel. With superplate, we can quickly create a refine project
npm create refine-app@latest email-subscription-panel -- -b v3
Select the following options to complete the CLI wizard:
? Select your project type:
> refine-react

? What will be the name of your app:
> email-subscription-panel

? Package manager:
> Npm

? Do you want to use a UI Framework?:
❯ Ant Design

? Do you want a customized theme?:
> Default theme

? Router Provider:
❯ React Router v6

? Data Provider:
> Strapi

? Do you want a customized layout?:
> Yes

? i18n - Internationalization:
> No
After the upload is finished, let's go into our project and see how it looks.
cd email-subscription-panel
npm run dev
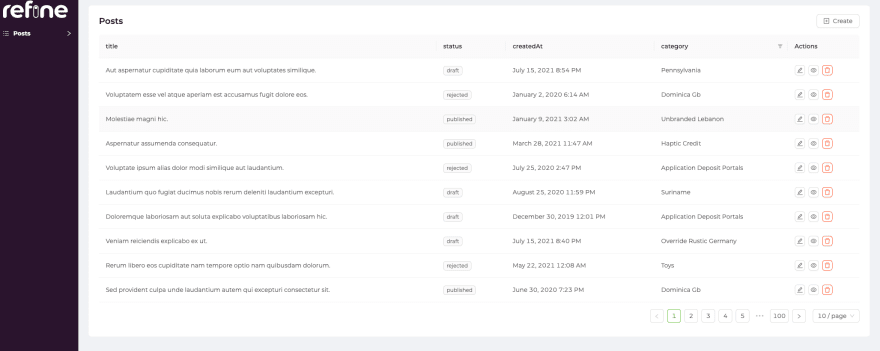
This is a example Refine project:
Let's list our messages and subscribers with refine. Here are the changes we need to make:
- Change Strapi API URL from refine
- Adding resources according to the collection name we created in Strapi
import { Refine, Resource } from "@pankod/refine";

import "@pankod/refine/dist/styles.min.css";
import { DataProvider } from "@refinedev/strapi";
import strapiAuthProvider from "authProvider";
import { Header, Layout, OffLayoutArea } from "components";


function App() {
 - const API_URL = "your-strapi-api-url";
 + const API_URL = "http://localhost:1337";

  const { authProvider, axiosInstance } = strapiAuthProvider(API_URL);
  const dataProvider = DataProvider(API_URL, axiosInstance);
  return (
    <Refine
      dataProvider={dataProvider}
      authProvider={authProvider}
      Header={Header}
      Layout={Layout}
      OffLayoutArea={OffLayoutArea}
      routerProvider={routerProvider}
      resources={[{
        name: "subscribers",
      }, {
        name: "messages",
      }]}
    />
  );
}

export default App;
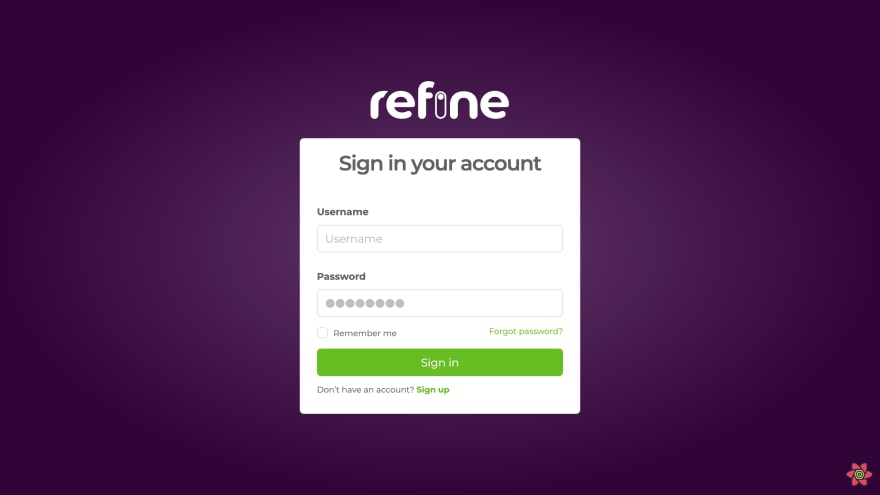
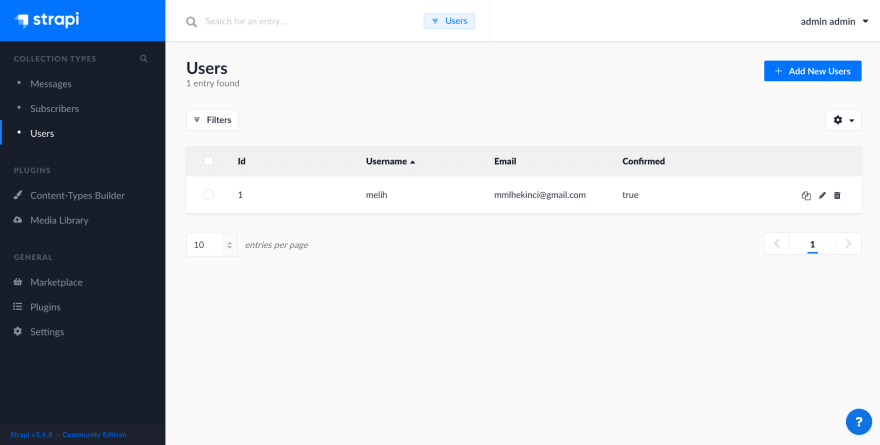
After adding the resources, we need to define a user in the strapi in order to be able to login to the refine.
Let's login with this user we created
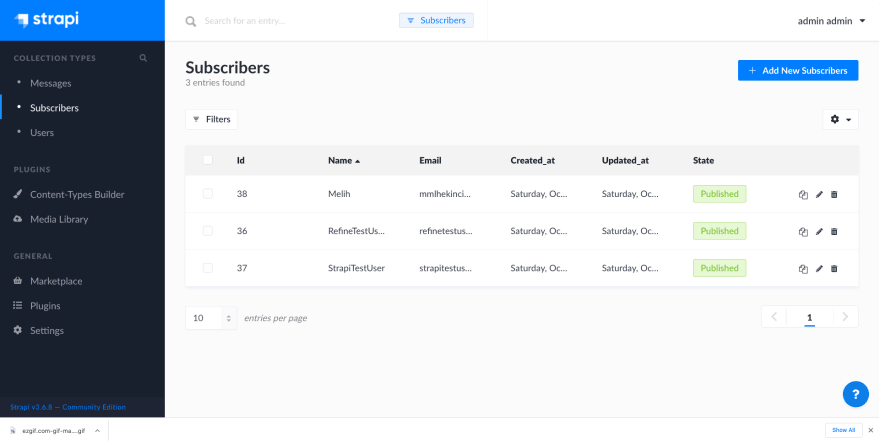
We can now list subscribers and messages and make changes to our list. Before doing this, let's create test users and messages on the strapi side.
Create SubscriberList.tsx and MessagesList.tsx file under the pages folder. Then, let's create our component as follows with the components and hooks that come with refine.
Subscriber List
import React from "react";
import {
  useTable,
  List,
  Table,
  DateField,
  DeleteButton,
  IResourceComponentsProps,
} from "@pankod/refine";

import { ISubscriber } from "interfaces";

export const SubscriberList: React.FC<IResourceComponentsProps> = () => {
  const { tableProps } = useTable<ISubscriber>();
  return (
    <List>
      <Table {...tableProps} rowKey="id">
        <Table.Column dataIndex="id" title="Id" />
        <Table.Column dataIndex="name" title="Name" />
        <Table.Column dataIndex="email" title="E-mail" />
        <Table.Column
          dataIndex="created_at"
          title="createdAt"
          render={(value) => <DateField format="LLL" value={value} />}
        />
        <Table.Column<ISubscriber>
          title="Unsubscribe"
          dataIndex="actions"
          render={(_, record): React.ReactNode => {
            return (
              <DeleteButton size="small" recordItemId={record.id} hideText />
            );
          }}
        />
      </Table>
    </List>
  );
};
Message List
import React from "react";
import {
  useTable,
  List,
  Table,
  DateField,
  IResourceComponentsProps,
} from "@pankod/refine";

import { IMail } from "interfaces";

export const MessageList: React.FC<IResourceComponentsProps> = () => {
  const { tableProps } = useTable<IMail>();
  return (
    <List>
      <Table {...tableProps} rowKey="id">
        <Table.Column dataIndex="id" title="Id" />
        <Table.Column dataIndex="subject" title="Subject" />
        <Table.Column dataIndex="text" title="Body" />
        <Table.Column
          dataIndex="created_at"
          title="createdAt"
          render={(value) => <DateField format="LLL" value={value} />}
        />
      </Table>
    </List>
  );
};
export interface ISubscriber {
  id: any;
  name: string;
  email: string;
  created_at: string;
}

export interface IMail {
  subject: string;
  text: string;
  to: string;
  create_at: string;
}
In this component:
We used refine's list and table to show our subscribers and messages.
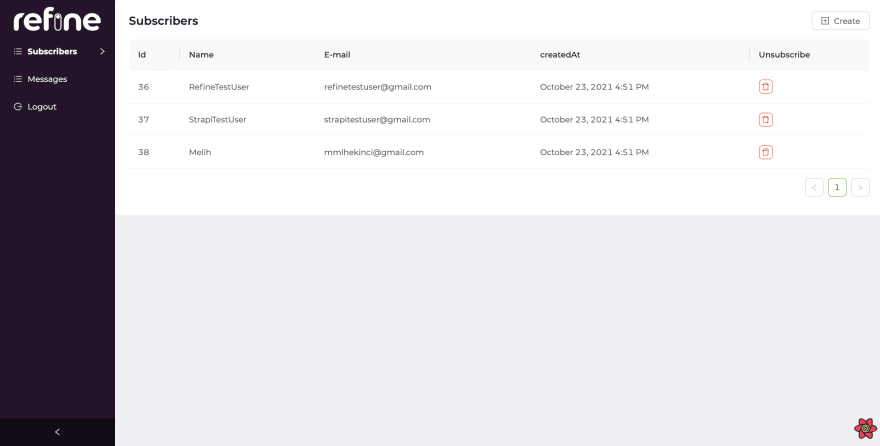
Now let's see how our subscriber panel looks like:
Subscriber:
Messages:
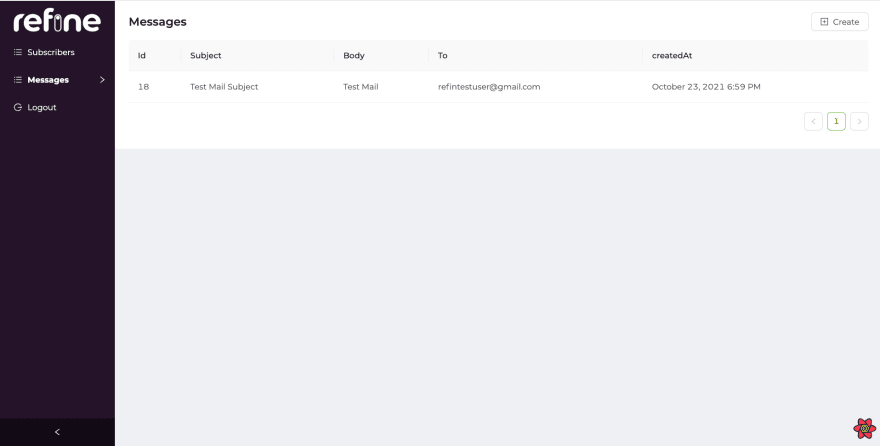
As you can see, we were able to list our subscribers and e-mails very simply with refine. Now let's examine how we can create subscribers and messages from our interface.
Create Subscriber
import {
  Create,
  Form,
  Input,
  useForm,
  IResourceComponentsProps,
} from "@pankod/refine";

import { ICreateSubscriber } from "interfaces";

export const CreateSubscriber: React.FC<IResourceComponentsProps> = () => {
  const { formProps, saveButtonProps } = useForm<ICreateSubscriber>();

  return (
    <Create saveButtonProps={saveButtonProps}>
      <Form {...formProps} layout="vertical">
        <Form.Item label="Name" name="name">
          <Input />
        </Form.Item>
        <Form.Item
          label="E-mail"
          name="email"
          rules={[
            {
              required: true,
            },
          ]}
        >
          <Input />
        </Form.Item>
      </Form>
    </Create>
  );
};
Create Message
import React from "react";
import {
  Create,
  Form,
  Input,
  useForm,
  IResourceComponentsProps,
} from "@pankod/refine";

import MDEditor from "@uiw/react-md-editor";
import { IMail } from "interfaces";

export const MailCreate: React.FC<IResourceComponentsProps> = () => {
  const { formProps, saveButtonProps } = useForm<IMail>();

  return (
    <Create saveButtonProps={saveButtonProps}>
      {console.log("create")}
      <Form {...formProps} layout="vertical">
        <Form.Item
          label="Subject"
          name="subject"
          rules={[
            {
              required: true,
            },
          ]}
        >
          <Input />
        </Form.Item>
        <Form.Item
          label="Body"
          name="text"
          rules={[
            {
              required: true,
            },
          ]}
        >
          <MDEditor data-color-mode="light" />
        </Form.Item>
        <Form.Item
          label="To"
          name="to"
          rules={[
            {
              required: true,
            },
          ]}
        >
          <Input />
        </Form.Item>
      </Form>
    </Create>
  );
};
Using refine's form and create components, we can now create subscribers and messages with refine.
We're done with our panel. We can now list, create and delete subscribers. Finally, the step of sending real mails using our panel and strapi is left. Let's see how we do this.
Strapi E-mail Plugin
In order to send mail via Strapi, we need to install the strapi-email plugin in our api project that we created above.
Let's open our API project that we created and download the email plugin.
cd strapi-email-subscription-api
npm install strapi-provider-email-sendgrid --save
After installing your plugin you will need to add some settings in config/plugins.js. If this file doesn't exists, you'll need to create it.
Configure your provider
Path — ./config/plugins.js
module.exports = ({ env }) => ({
    email: {
      provider: 'sendgrid',
      providerOptions: {
        apiKey: env('SENDGRID_API_KEY'),
      },
      settings: {
        defaultFrom: 'your-email-adress',
        defaultReplyTo: 'your-email-adress',
        testAddress: 'your-email-adress',
      },
    },
  });
Strapi sends emails via sendgrid. That's why you need to create a SendGrid account and get an api-key.
Now, let's send the text and subject in the collection of messages we created over the strapi as parameters to the send() function of the email plugin.
const { parseMultipartData, sanitizeEntity } = require("strapi-utils");

module.exports = {
  async create(ctx) {
    let entity;
    if (ctx.is("multipart")) {
      const { data, files } = parseMultipartData(ctx);
      entity = await strapi.services.messages.create(data, { files });
    } else {
      entity = await strapi.services.messages.create(ctx.request.body);
    }

    entity = sanitizeEntity(entity, { model: strapi.models.messages });

    const { subject, text } = entity;

    const worker = (await strapi.services.subscribers.find()).map(
      (subscriber) => {
        let to = subscriber.email;

        return strapi.plugins["email"].services.email.send({
          subject,
          text,
          to,
        });
      }
    );

    await Promise.all(worker);

    return entity;
  },
};
Our project is finished. Let's try it now.
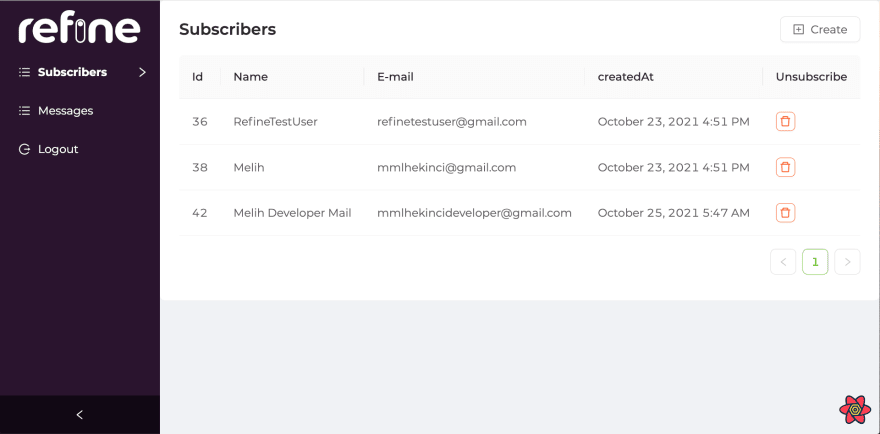
Let's send the same e-mail to our subscribers shown in the picture at once.
Sending mail was successful. As you can see, we were able to send the same email to all subscribers by sending a single email.